Skip to content
Home › Wilderness Skills Series › The Blackwater Map and Compass Guide
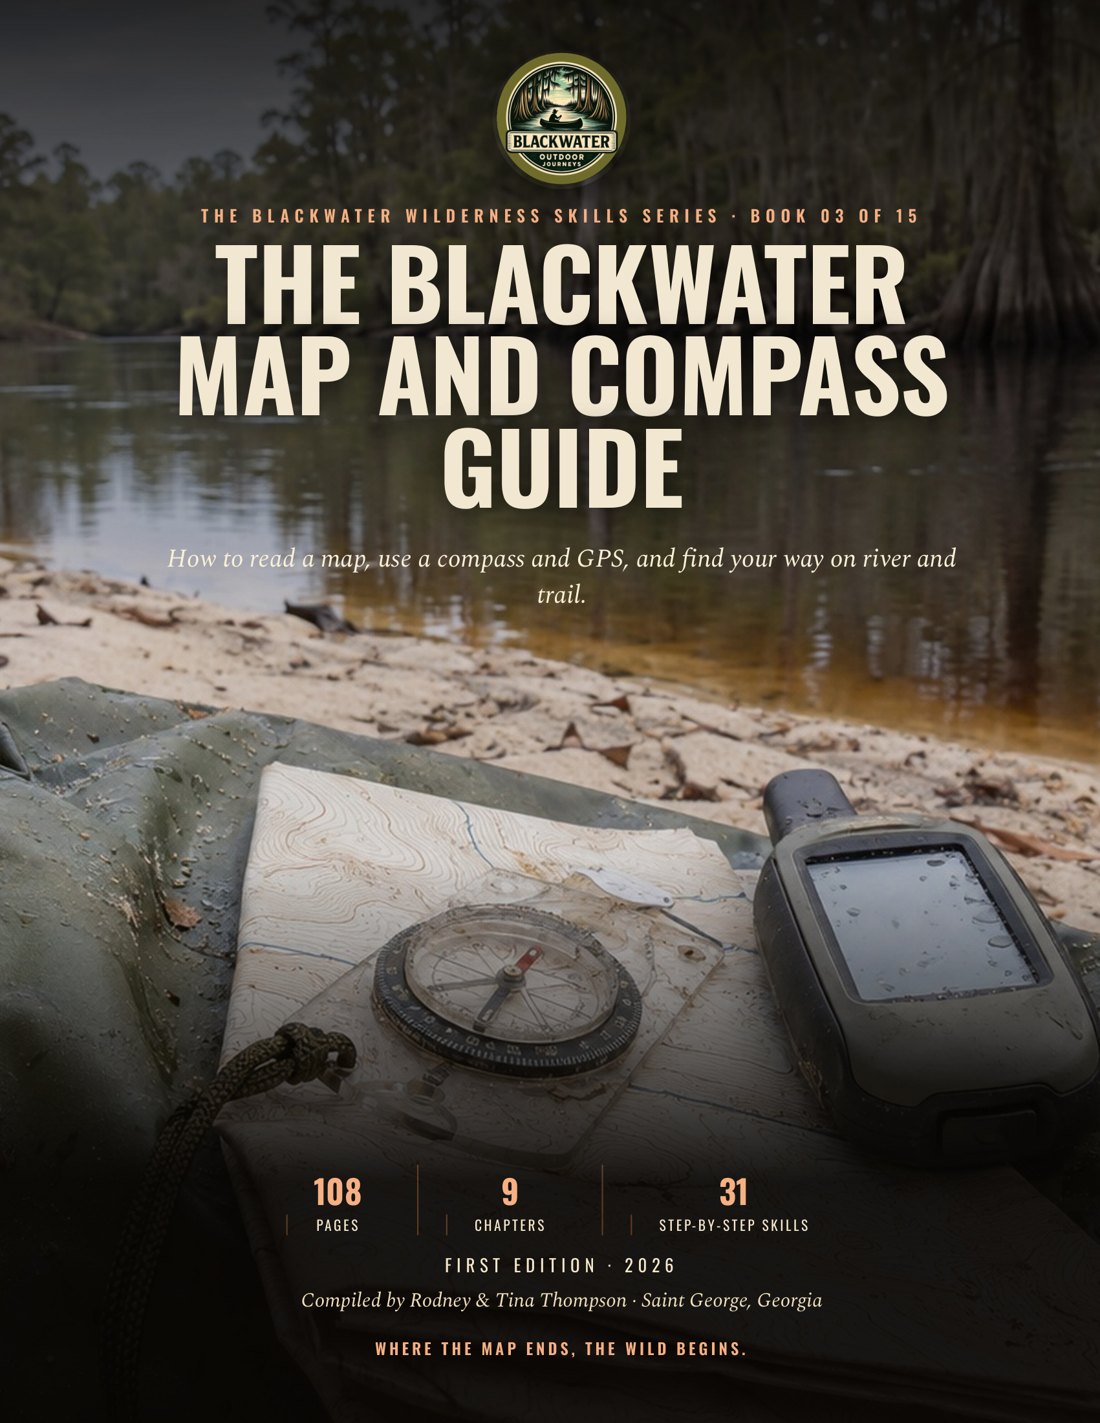
Cover of The Blackwater Map and Compass Guide, a printed navigation guidebook
The Blackwater Wilderness Skills Series · Book 03

The Blackwater Map and Compass Guide

The Blackwater Map and Compass Guide is a guidebook from Blackwater Outdoor Journeys that teaches how to read topographic maps, use a compass and correct for declination, follow a bearing, triangulate a position, prepare a route, use GPS apps offline, and find direction without technology on river and trail.

  • 108pages
  • 9chapters
  • Full colorprinted guide
Flip through the book

The first pages of the book, as they print.

Get the full book

Read the whole book on any screen, or hold the printed book in your pack. The printed book comes with the digital edition included.

Digital edition

Read it on your phone or tablet

$12.95 one-time
  • The whole book, page by page, in the flipbook
  • Works on a phone, tablet or computer, so it goes where you go
  • Opens with the email you buy with
Coming soon
Printed book

The full-color book, digital edition included

$24.95 plus shipping
  • The printed 108-page book, full color
  • The digital edition at no extra charge
  • Printed to order and mailed in the U.S.
Coming soon

Save on more books. Order two or more books and each one is 20% off. Come back for another book later and it is 20% off too. The full printed series is 25% off and the full digital series is 50% off. See the savings

Layout preview only. Ordering is not set up yet.

Chapter by chapter
Chapter 1

The Stay Found Mindset

  • What you need: Use a calm layered navigation system, apply S.T.O.P. when the map and ground stop agreeing, and make a clear plan before leaving a blackwater route.
  • Lost starts as a feeling: Getting lost is not only a point on a map.
  • Plan before leaving: The Forest Service calls advanced planning the best survival tool for getting lost.
  • Build three layers: A real navigator speaks three navigation languages.
  • Digital position: The third layer is digital position.
  • S.T.O.P. is a command: When the route feels wrong, say the letters out loud: Stop, Think, Observe, Plan.
  • Observe and plan: Observe means gather facts from the actual place.
  • Stay put: A drainage or stream route is a last resort.
  • Practice the habit: Practice S.T.O.P. where the cost of a mistake is small.
  • Findable: At every pause, ask a quiet question: “Where am I, what proves it, and what is my next safe decision?” That question keeps the brain engaged without feeding panic.
  • Water and alligators: Alligators can live in any water in their range, so keep your distance and never feed them.
  • Three layer audit: The map gives the planned shape of the route.
  • S.T.O.P. response: When the route feels wrong, say the letters out loud: Stop, Think, Observe, Plan.
  • Anchor plan: Make a route note that another person can understand.
Chapter 2

The Language of the Land (Topo Maps)

  • Choose the right map scale: Map scale is the relationship between map distance and ground distance.
  • Decode map colors and symbols: The legend beats memory.
  • Read contour interval: The contour interval is the elevation difference between adjacent contours.
  • Make a route story: Choose a start point you can identify in more than one way.
  • A topo ground story: Read a topographic map for scale, water, vegetation, symbols, contour interval, hills, valleys and ridges before moving.
  • Colors and symbols: Read color as a class, not a complete identification.
  • Contour lines show height: A contour line joins points at the same elevation.
  • Connect the clues: Connect several clues.
  • When the ground disagrees: When the ground disagrees, stop and compare.
  • Before you launch: Read it before you launch or leave a landing.
Chapter 3

The Indestructible Tool (The Compass)

  • Compass parts check: A baseplate compass is a precision instrument only when you give the needle a fair chance to settle.
  • Red in the shed: Your first compass habit is simple: put red in the shed.
  • Bearing landmark log: A compass direction is only useful when you can keep it.
  • Why compass matters: Identify a baseplate compass, align it correctly, find magnetic north, and hold a repeatable direction in blackwater country.
  • Compass still matters: A baseplate compass needs no battery.
  • Find north: Your first compass habit is simple: put red in the shed.
  • North and bearing: The bezel is a circle.
  • Make direction repeatable: Use a travel log in a small notebook.
  • Calm repeatable check: When the tool and the landscape disagree, pause.
Chapter 4

The Magnetic Problem: Declination

Printed in full here from the book.

Build a declination record

The value changes with place and time, so an old map margin is a starting clue, not a promise.

  1. Write location and date Write the route location and travel date at the top of the record.
  2. Read the map margin Read the map margin diagram and copy its written declination value and map date.
  3. Enter the trip location Open the NOAA NCEI calculator and enter the trip location or coordinates.
  4. Copy the current value Copy the current east or west value, uncertainty and calculation date.

You need: Circle the current value (Compare the map value and calculator value, then circle the current value you will use.)

Check it. Pass: another person can identify the place, date, source value, direction and uncertainty. Fail: the record has only a number, uses an unnamed nearby place or has no date.

Field check
  • I write the route location and travel date.
  • I copy the written declination value and map date.
  • I enter the trip location or coordinates.
  • I copy the east or west value and uncertainty.
  • I circle the current value I will use.

Safety. Do not carry a regional declination example to a new route.

Convert map field bearings

Name the conversion first: map to field adds west and subtracts east; field to map reverses it.

  1. Name the conversion Write map to field or field to map beside the bearing.
  2. Write the sign Write west as a negative value or east as a positive value.
  3. Convert map to field For map to field with an unadjusted compass, add west or subtract east.
  4. Convert field to map For field to map, subtract west or add east.
  5. Reduce the answer Reduce the answer to the 0 to 360 degree circle and write the equation.

You need: Repeat the direction (Have a second person say which direction the corrected bearing will serve.)

Check it. Pass: the writer labels the conversion, applies the matching sign and gets 107 degrees for the west map-to-field example. Fail: the writer uses the slogan without naming the task or reverses field to map.

Field check
  • I write map to field or field to map beside the bearing.
  • I write west as a negative value or east as a positive value.
  • I add west or subtract east for map to field.
  • I subtract west or add east for field to map.
  • I reduce the answer to the 0 to 360 degree circle.
  • I have a second person say which direction the bearing will serve.

Safety. Write the conversion beside the line and have a partner repeat the direction before you leave camp.

Set and verify a compass

Declination is a system check, not a decoration on the map.

  1. Move away from metal Move the compass and map away from vehicles, fences, belt buckles and other iron or steel.
  2. Insert the adjustment key Turn the compass over and insert the manufacturer supplied adjustment key when required.
  3. Set the indicator Turn the adjustment screw until the indicator matches the recorded east or west value.
  4. Read the map bearing Lay the compass edge on the map from your position to a landmark you can see and read the map bearing.
  5. Set the needle With the bezel fixed, hold the compass level and turn your body until the red end of the needle is in the shed.

You need: Check the arrow (Check that the travel arrow points at the landmark, or stop and redo the work.)

Check it. Pass: the adjusted compass gives the map bearing while the red end of the needle rests in the shed, and the travel arrow points toward the intended landmark. Fail: the user adjusts from memory, holds the compass beside metal or accepts a restless needle.

Field check
  • I move the compass and map away from vehicles, fences and iron or steel.
  • I insert the manufacturer supplied adjustment key when required.
  • I turn the adjustment screw until the indicator matches the recorded east or west value.
  • I lay the compass edge on the map and read the map bearing.
  • I hold the compass level until the red end of the needle is in the shed.
  • I check that the travel arrow points at the landmark.

Safety. If the needle will not settle, stop and move away from interference.

Two norths useful correction

Find the current declination for a Blackwater trip, correct a map bearing for the field, and verify the correction before trusting a compass.

  1. Two norths one correction A map uses true north or grid north. A compass needle follows the horizontal part of the local magnetic field. Those directions are not the same. The angle between true north and magnetic north is magnetic declination.
  2. The needle follows the field The needle does not point at one fixed magnetic pole. It follows the field where you stand. A local pipe, vehicle, fence, belt buckle or other iron can also pull the needle. Move away from metal before taking a reading. On a blackwater trip, tie the correction to the actual route location, map edition and calculation date.
  3. Small error large ground The error can look small on the dial and large on the ground. The Army land-navigation manual gives about 18 meters of side error for each degree of offset after 1,000 meters of travel. That is about 59 feet per degree after 1,000 meters. Do not carry a regional declination example to a new route. Check the NOAA calculator for the exact place and date instead.
  4. Sign of declination East declination is positive. West declination is negative. The value changes with place and time, so an old map margin is a starting clue, not a promise.

Rule. Name the conversion first: map to field adds west and subtracts east; field to map reverses it.

Field check
  • I use true north or grid north on the map.
  • I move away from metal before taking a reading.
  • I tie the correction to the actual route location.
  • I check the exact place and date.

Safety. Do not trust a compass near vehicles, fences, belt buckles, tools or other iron and steel.

Find the local value

Start with the declination diagram in the map margin.

  1. Read the map margin Start with the declination diagram in the map margin. It shows true north, grid north and magnetic north. The drawing is not a protractor. Read the written angle and date beside it. An older map can carry an older value because magnetic north changes.
  2. Check the exact place Then check the NOAA National Centers for Environmental Information calculator for the exact place and date. Enter the route location, or use the United States location lookup when available. Record the value with its east or west direction, the date and the uncertainty shown by the calculator. A nearby town is better than a guess, but the trip location is better than the town center. South Georgia and north Florida are a practical region, not one magic number.
  3. Use the latest model The current World Magnetic Model is a model, not a field measurement at your boots. NCEI reports that present field models are generally accurate to about 30 minutes of arc for declination, while local magnetic anomalies can be larger. Use the latest model available, write the result on the map case, and check again when the trip moves to another region or the map is replaced.
Field check
  • I read the written angle and date beside the map diagram.
  • I enter the route location and date.
  • I record the east or west direction and uncertainty.
  • I use the latest model available.
  • I check again when the map is replaced.
  • I have a current topographic map and the trip location and date.

Safety. Move away from metal before taking a reading.

  1. Topographic map A current topographic map of the route
  2. Trip location date The trip location and date for the NOAA calculator
Field check
  • I read the written angle and date beside the map diagram.
  • I enter the route location and date.
  • I record the east or west direction and uncertainty.
  • I use the latest model available.
  • I check again when the map is replaced.
  • I have a current topographic map and the trip location and date.

Safety. Move away from metal before taking a reading.

Correct the bearing

The phrase West is best helps only when the task is named.

  1. Name the task The phrase West is best helps only when the task is named. For a bearing drawn on a true-north map that you intend to walk with an unadjusted magnetic compass, add west declination and subtract east declination. For a magnetic bearing taken in the field that you intend to plot as a true bearing on a map, reverse the conversion: subtract west and add east.
  2. Use the sign rule Use the sign rule when your head is cold. Write west as a negative value and east as a positive value. NOAA defines true bearing as magnetic bearing plus magnetic declination.
  3. Keep the circle Keep the result on the 0 to 360 degree circle. If addition goes above 360 degrees, subtract 360 degrees. If subtraction goes below 0 degrees, add 360 degrees. Do not trust a slogan when the bearing is near north. Write the conversion beside the line and have a partner repeat the direction before you leave camp.
  4. Answers differ For example, a magnetic bearing of 100 degrees with 7 degrees west becomes 93 degrees true. For map to field, a true bearing of 100 degrees with 7 degrees west becomes 107 degrees magnetic. The answers differ because the question differs.

Rule. Write west as a negative value and east as a positive value.

Field check
  • I name the task before West is best.
  • I write west as a negative value and east as a positive value.
  • I keep the result on the 0 to 360 degree circle.
  • I write the conversion beside the line.
  • I have a partner repeat the direction.

Safety. Do not trust a slogan when the bearing is near north.

Set and verify compass

An adjustable compass moves the orienting arrow so the magnetic needle can be aligned while the dial gives a map-compatible bearing.

  1. Set the compass An adjustable compass moves the orienting arrow so the magnetic needle can be aligned while the dial gives a map-compatible bearing. Follow the manual for the compass in your hand. One maker’s guide directs you to turn the compass over, place the supplied metal key in the adjustment screw, and turn until the declination indicator matches the local east or west value.
  2. Verify the map bearing After adjustment, do not assume the compass is right because the screw moved. Keep metal away. Lay the compass edge on the map from your position to a landmark, turn the bezel until its orienting lines, the parallel bezel lines, run north and south with the orienting arrow toward the top, and read the map bearing at the index line. Keep the bezel fixed, hold the compass level and turn your body until the red end of the needle is in the shed. The travel arrow should point at the landmark.
  3. Record the conversion If the travel arrow misses the landmark or the needle will not settle, stop and redo the work. A compass without an adjustment feature still works. Use the written conversion every time a bearing changes. Record whether each value is map to field or field to map. Declination is a system check, not a decoration on the map.
Field check
  • I keep metal away.
  • I read the map bearing at the index line.
  • I hold the compass level.
  • I turn my body until the red end of the needle is in the shed.
  • I stop and redo the work if the travel arrow misses the landmark.
  • I have a flat map surface away from iron and steel.

Safety. Keep metal away.

  1. Compass A baseplate compass with adjustable declination or a pencil and an unadjusted compass
  2. Map surface A flat map surface away from iron and steel
Field check
  • I keep metal away.
  • I read the map bearing at the index line.
  • I hold the compass level.
  • I turn my body until the red end of the needle is in the shed.
  • I stop and redo the work if the travel arrow misses the landmark.
  • I have a flat map surface away from iron and steel.

Safety. Keep metal away.

Verify before travel

On a blackwater trip, tie the correction to the actual route location, map edition and calculation date.

  1. Rule Name the conversion first: map to field adds west and subtracts east; field to map reverses it.
  2. Field check On a laminated card, 238 degrees true is printed beside an arrow: a line measured on the map and meant for walking. A second card records 7 degrees west. State the final setting for an unadjusted compass and the reverse operation for a later reading.
  3. Metal and interference Do not trust a compass near vehicles, fences, belt buckles, tools or other iron and steel. If the needle will not settle, stop and move away from interference. If the map, compass and terrain disagree, use the S.T.O.P. rule and do not wander.
  4. Table and dark Learn it on the table: mark one true bearing and solve both conversion directions. Then in the dark: read the declination record by headlamp and set the compass by touch.

Field check. On a laminated card, 238 degrees true is printed beside an arrow: a line measured on the map and meant for walking. A second card records 7 degrees west. State the final setting for an unadjusted compass and the reverse operation for a later reading. You pass when you write 245 degrees and subtract 7 degrees from a later field reading.

Field check
  • I state the final compass setting.
  • I state the reverse operation for a later reading.
  • I use the S.T.O.P. rule when map, compass and terrain disagree.
  • I keep the map dry and the needle clear of metal.

Safety. Never walk a bearing into water where alligators may live.

Chapter 5

The Core Skill: Map to Field

  • Before movement: Take a map bearing, convert it for the local magnetic declination, and walk it through blackwater country with landmarks, pacing, and a written travel log.
  • Read the bearing: The number at the index line is the map bearing.
  • Short decisions: Take the set compass away from the map.
  • Distance and obstacles: A pace count tells you how far you have moved.
  • Complete routine: Navigation is a series of small, checked decisions.
  • Correct a map bearing: For map to field, add a west declination and subtract an east declination.
  • Walk by landmarks: Look through the travel arrow and choose a clear object as far ahead as the vegetation allows.
  • Calibrate a pace count: Calibrate your own pace on a measured course before relying on it in the woods.
  • Reconnect the line: When a lake, creek, blowdown, or flooded pocket blocks the line, do not improvise a wandering curve.
Chapter 6

The Where Am I Skill (Triangulation)

  • Calm first: Use resection to turn visible landmarks into a checked position on a map, then refine that position with a third landmark or a river edge.
  • Choose landmarks: Choose landmarks that will still be recognizable when you look back.
  • Shoot bearings: Hold the compass level in both hands with your elbows close to your sides.
  • Plot backward: Orient the map before plotting.
  • River edge check: A blackwater paddler may have one useful line feature even when only one landmark is visible.
  • Recovery plan and needs: Once you have a position, write a short recovery plan.
  • Check the position: Practice the whole system before you need it.
  • Resection landmarks: Stop at a safe observation point and rebuild the last position you knew.
  • Magnetic bearings: Hold the compass level in both hands with metal objects away from the needle.
  • Back azimuth: Orient the map with its north reference and locate the first landmark symbol.
  • River edge resection: Identify the mapped river, canal, road, or shoreline feature that you can safely observe.
Chapter 7

The Modern Basecamp (Route Prep)

  • Build route before boat: Modern basecamp work starts at a desk.
  • Draw route story: A route line is the order of the trip.
  • Use historical imagery: The time control lets you inspect imagery from dates available for the selected place.
  • Export a field file: Before export, clean the project.
  • Modern basecamp: That is the modern basecamp: a route that stays useful when the screen is small, the light is poor and the original planner is not there.
  • What you need: The desktop edition of a mapping program may add import tools that the web edition lacks.
  • Scout and mark route: Open the mapping program and move to the planned blackwater launch area.
  • Compare historical imagery: Select the route feature you need to understand, such as a bend, landing, side channel or pale bank.
  • Clean export verify file: Before export, clean the project.
Chapter 8

The Digital Field Guide (GPS Apps)

  • The app system: Prepare an offline GPS map system, verify it before a blackwater trip, use it with judgment in the field, and keep a paper map and compass ready when the phone fails.
  • Build offline map: Do the preparation while you still have a stable internet connection.
  • Prove it: Verification is the step that turns hope into a navigation system.
  • Use the phone: At the launch, start with the system you tested.
  • Offline map build: Choose a dedicated backcountry app and confirm its current offline-map terms.
  • Offline proof test: Verification is the step that turns hope into a navigation system.
  • Digital field check: Open the saved map and locate yourself.
  • What you need: Keep the physical map and compass ready.
Chapter 9

The No-Tech Navigator (Sun and River)

  • Judgment before direction: Use the sun, an analog watch, moving water, and Polaris as layered, approximate direction checks when batteries, compass, and signal are gone.
  • Shadow east west: The shadow-tip method works by marking movement, not by guessing where the sun sits.
  • Watch correction: An analog watch can give an approximate north-south line in the north temperate zone.
  • Water last resort: Water flows downhill, but downhill is not the same as safe travel.
  • Find north from Polaris: On a clear night in the Northern Hemisphere, Polaris gives a useful true-north reference.
  • Practice area: Choose level ground where a stick casts a distinct shadow.
  • Shadow tip direction: The shadow-tip method works by marking movement, not by guessing where the sun sits.
  • Analog watch check: An analog watch can give an approximate north-south line in the north temperate zone.
  • Drainage last resort: Water flows downhill, but downhill is not the same as safe travel.
  • Polaris night check: On a clear night in the Northern Hemisphere, Polaris gives a useful true-north reference.
Questions people ask
How do you use a map and compass together?

Mark where you are and where you are going. Lay the compass edge through both points with the travel arrow toward the destination, and turn the bezel until its lines run north and south on the map. Read the bearing at the index line, apply declination, then turn your body until red is in the shed. Pick a far landmark, walk to it, and repeat.

What is declination and how do you adjust for it?

Declination is the angle between true north, which maps use, and magnetic north, which a compass follows. East is positive and west is negative, and it changes with place and time. Check the map margin and the NOAA calculator for your route. Walking a map bearing with an unadjusted compass, add west declination and subtract east.

How do you read a topographic map?

Start with the margin: scale, contour interval and legend. Blue is water, green is woodland, brown is relief and black marks roads, trails and buildings. A contour line joins points of equal elevation. Close contours mean a steep slope, and wide contours mean more level ground. In blackwater country, wide spacing can still hide a low rise or bank.

How do you use a compass?

Hold a baseplate compass level and away from metal. To take a bearing, point the direction-of-travel arrow at a landmark, turn the bezel until the red end of the needle sits in the orienting arrow, called the shed, and read the index line. To walk it, pick a far landmark, walk to it, then stop and realign. Do not stare at the compass while walking.

How do you find where you are with a compass (triangulation)?

Stop first. Take compass bearings from the same spot to two or three landmarks that are clearly on your map, and convert each to a map bearing. Plot the back azimuth, the bearing turned around 180 degrees, from each landmark. The lines cross near your position. It is an estimate, so check it against the ground.

Can you navigate without GPS?

Yes. A paper map and a baseplate compass need no battery, and the book teaches both. If you have neither, the no-tech methods give approximate direction only: a shadow-tip line by day, an analog watch, and Polaris at night. None of them gives your exact location or replaces a map, compass or rescue plan.

What should I do first when I realize I am lost?

Say it aloud: Stop, Think, Observe, Plan. Stop moving and secure the boat or sit down. Think back to the last place you knew for sure. Observe the bank, current and compass direction. Then choose one deliberate action: retrace to the last known point, stay put, or call for help. If you cannot safely retrace, call 911 when service permits.

How do I use a GPS app safely and offline?

Build the offline map at home. Save the map area to the phone, not only to an account, include your route and layers, then test it in airplane mode by panning through the put-in, route, landings and take-out. Charge the phone and a backup power source, and carry the paper map and compass. The blue dot is one piece of evidence, so compare it with the ground.

How do I prepare a route before a paddling trip?

Open a mapping program and follow the river bend by bend, marking the put-in, take-out, bridges, camps, portages and bail-outs with clear names. Treat historical imagery as evidence, not proof, and note what still needs a ground check. Confirm access and rules with the land manager. Export the route, reopen it to check it, and carry a paper copy.

How do I find north without a compass?

By day, mark the tip of a stick's shadow, wait 10 to 15 minutes, and mark it again. A line through the marks is approximately east to west. An analog watch can give a rough north-south line. At night, extend the line through the Big Dipper's two pointer stars about five times their distance to reach Polaris, which marks true north. All of these are approximate.