Skip to content
Home › Wilderness Skills Series › Camp Kitchen Guide
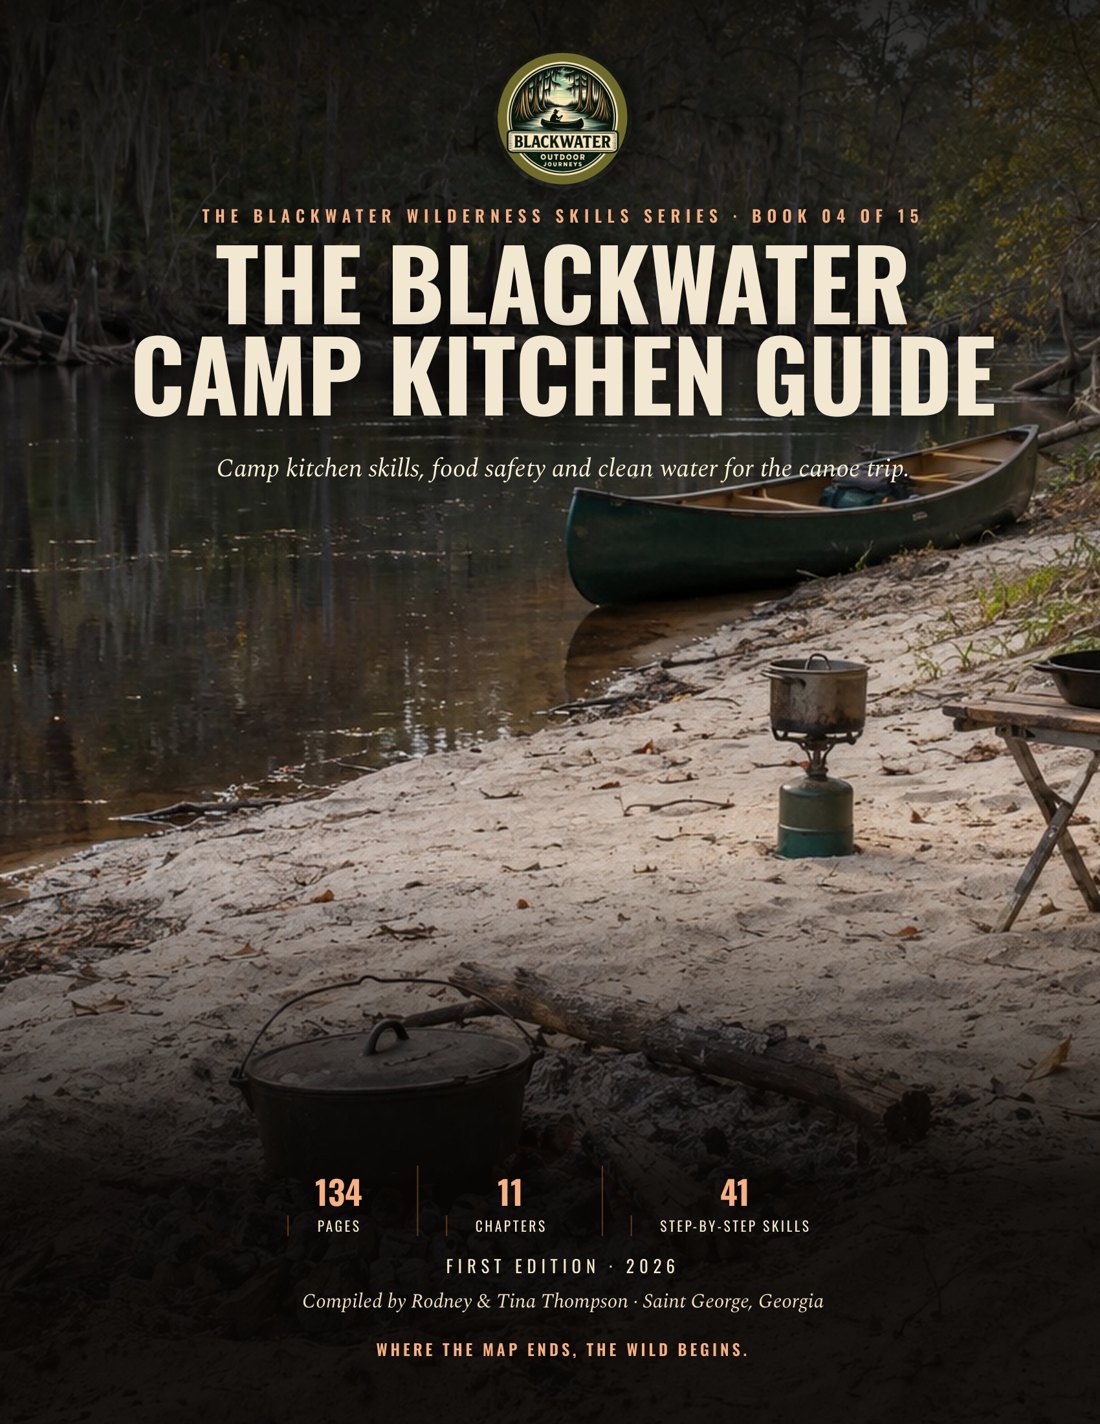
Cover of The Blackwater Camp Kitchen Guide, a printed camp cooking book for canoe trips
The Blackwater Wilderness Skills Series · Book 04

Camp Kitchen Guide

The Blackwater Camp Kitchen Guide is a printed guidebook that teaches camp kitchen skills for canoe and river camping: building a chuck box, treating water, food safety, stove and fire cooking, cast iron, no-cooler meals and camp cleanup. It is for paddlers and campers who want a safe, simple kitchen that works far from a store.

  • 134pages
  • 11chapters
  • Full colorprinted guide
Flip through the book

The first pages of the book, as they print.

Get the full book

Read the whole book on any screen, or hold the printed book in your pack. The printed book comes with the digital edition included.

Digital edition

Read it on your phone or tablet

$12.95 one-time
  • The whole book, page by page, in the flipbook
  • Works on a phone, tablet or computer, so it goes where you go
  • Opens with the email you buy with
Coming soon
Printed book

The full-color book, digital edition included

$24.95 plus shipping
  • The printed 134-page book, full color
  • The digital edition at no extra charge
  • Printed to order and mailed in the U.S.
Coming soon

Save on more books. Order two or more books and each one is 20% off. Come back for another book later and it is 20% off too. The full printed series is 25% off and the full digital series is 50% off. See the savings

Layout preview only. Ordering is not set up yet.

Chapter by chapter
Chapter 1

Foundations of the Expedition Kitchen

  • Thermometer doneness check: Cook to the right inside temperature and check it with a thermometer, not by color.
  • Two-hour food clock: Perishable food should not sit in the danger zone for more than 2 hours.
  • Home meal pre-pack: Pre-chop, pre-mix and pre-package so camp work is short and cleanup is small.
  • The morale machine: Plan a safe, simple, no-cooler camp kitchen for a trip, and prove a meal is safe with a thermometer, a clock and clean hands.
  • Food and fire safety: Bacteria grow fastest between 40°F and 140°F, a range called the danger zone.
  • Waste and weather: No two trips are the same.
  • No-cooler kitchen mindset: Three habits make a good camp cook: prepare, keep it simple and stay flexible.
Chapter 2

Building the Chuck Box and Gear Organizing

  • What a chuck box is: Plan, pack and load a chuck box so every tool is within reach and the heavy items ride low.
  • Build it or buy it: Building your own lets you fit the box to your stove and your pots.
  • Chuck box layout sketch: Measure your stove and your common pots, then draw a layout so everything fits snug.
  • The core gear list: Every box needs a reliable base kit.
  • First aid and packing: A well-packed box pays you back every meal.
  • Packing the box: A minute saved searching is a minute more by the river.
  • Chuck box load-out: Plan, pack and load a chuck box so every tool is within reach and the heavy items ride low.
  • Storage outside the box: The box is one piece of a larger system.
Chapter 3

Multi-Day Meal Planning and Nutrition

  • Energy and calories: Build a multi-day menu from calorie needs, shelf-stable food and the dietary needs of every person in the crew.
  • Daily calorie budget: Planning starts with energy.
  • Build the menu: A good menu gives the crew something to look forward to.
  • Dehydrated or freeze-dried: When weight matters, dried food is your friend.
  • Food from the wild: Wild food can add variety, but treat it as a supplement, never as the main plan.
  • Feeding the whole crew: A crew that is fed and safe is a happy crew.
  • Crew diet screen: Before the trip, ask every person about allergies, restrictions and preferences.
Chapter 4

Water: The Lifeline of Camp

  • Pre-filter and boil: Boiling needs no supplies except fuel.
  • Chemical water treatment: Always follow the maker’s directions.
  • Camp water setup: Keep one container only for treated drinking water and others for washing and cooking.
  • Why water comes first: Choose a water source, make the water safe with a method that fits the trip, and run a clean camp water system.
  • Reading a water source: Avoid still ponds and puddles.
  • Filters and purifiers: Read the label on your own gear.
  • Chemical treatment: Always follow the maker’s directions.
  • Bleach in emergencies: Plain unscented household bleach is for emergencies only.
  • Boiling and UV light: Boiling needs no supplies except fuel.
  • Storing and saving water: Use clean containers.
Chapter 5

Fire vs. Stove: The Heating Element

  • Cooking coal bed: Cook on glowing coals, which give steady heat.
  • Dutch oven coal layout: The secret is heat control.
  • Stove set-up: Pick the stove that fits your trip length, climate and cooking style.
  • Cold fire check: A fire is out only when it is cold to the touch.
  • Fire or stove: Choose fire, stove or both for a meal, set each up safely, cook on coals and in a Dutch oven, and put the fire fully out.
  • Cooking over a fire: Use an established fire ring when there is one.
  • Fuel and footprint: Carry only the fuel you need.
  • Leave No Trace: Leave No Trace asks for the same habits at the fire.
  • The Dutch oven: A cast iron Dutch oven holds heat and spreads it evenly.
  • Using both: Use the stove for coffee, oatmeal and a fast boil.
Chapter 6

Mastering Cast Iron Cookery

Printed in full here from the book.

Oven seasoning

That layer makes the pan non-stick and keeps rust out.

  1. Wash and dry Wash the bare pan in warm, soapy water with a stiff brush, then dry it completely on a low burner.
  2. Thin coat of oil Wipe a very thin coat of cooking oil over every surface, inside and out, then wipe it nearly dry.
  3. Pan upside down Line the lower oven rack with foil and place the pan upside down on the center rack.
  4. Bake 1 hour Bake at 450 to 500°F for 1 hour.

You need: Cool in the oven (Turn the oven off and leave the pan inside until it is cool.)

Check it. Pass: the surface is dark, smooth, dry and slightly glossy with no sticky or pooled spots. Fail: any tacky patch, any orange rust or any oil that ran into drips.

Field check
  • I wash the bare pan in warm, soapy water with a stiff brush.
  • I wipe a very thin coat of cooking oil over every surface.
  • I place the pan upside down on the center rack.
  • I bake at 450 to 500°F for 1 hour.
  • I leave the pan inside until it is cool.

Safety. Keep a rag or mitt handy when you take a pan out of the oven. Cast iron stays hot long after the fire is out.

Camp clean and re-oil

Clean the pan soon after cooking, while it is still warm.

  1. Scrape out loose food Scrape out loose food while the pan is still warm.
  2. Scrub with hot water Scrub with hot water and a stiff brush, scraper or chainmail scrubber. Add coarse salt for stuck spots.
  3. Simmer and scrape For burnt-on food, simmer a little water in the pan and scrape with a wooden spoon.
  4. Dry the pan Dry the pan on a low burner or beside a gentle fire until no moisture is left.
  5. Rub on oil While it is still slightly warm, rub on a thin coat of oil and wipe off the extra.

You need: Store it dry (Store it dry. Put a paper towel between stacked pieces.)

Check it. Pass: no moisture when you wipe it with a white cloth, no rust spots and a light shine. Fail: any damp spot, any orange mark or any sticky surface.

Field check
  • I scrape out loose food while the pan is still warm.
  • I scrub with hot water and a stiff brush.
  • I dry the pan until no moisture is left.
  • I rub on a thin coat of oil and wipe off the extra.
  • I store it dry with a paper towel between stacked pieces.

Safety. Cast iron stays hot long after the fire is out. Use a lid lifter and leather gloves to handle hot lids and pans.

Rust restoration

A rusty pan is not ruined.

  1. Scrub off rust Scrub off all rust with steel wool until bare gray iron shows.
  2. Wash and rinse Wash the pan with soap and water, then rinse.
  3. Dry it completely Dry it completely on a low burner.
  4. Wipe on oil Wipe on a very thin coat of cooking oil, inside and out.

You need: Bake and cool (Bake it upside down at 450 to 500°F for 1 hour, then let it cool in the oven.)

Check it. Pass: no orange anywhere and a dark, even coat after the bake. Fail: any rust left or patches that stay dull after the bake.

Field check
  • I scrub off all rust with steel wool until bare gray iron shows.
  • I wash the pan with soap and water, then rinse.
  • I dry it completely on a low burner.
  • I bake it upside down at 450 to 500°F for 1 hour.
  • I let it cool in the oven.

Safety. Keep a rag or mitt handy when you take a pan out of the oven. Cast iron stays hot long after the fire is out.

Cast iron in camp

Season, cook with, clean and restore cast iron so it stays rust-free, non-stick and ready for the fire.

  1. Camp workhorse Cast iron has fed cooks for centuries. It was the main pot of pioneers and early woodsmen, and it is still the workhorse of the camp kitchen.
  2. It holds heat It holds heat. Once hot, it stays hot, which is ideal for searing, frying and slow cooking over the uneven heat of a fire. It heats evenly, with few hot spots.
  3. Tough and seasoned It is very tough and handles heat and hard use that would warp thinner pans. A well-seasoned pan has a smooth, non-stick surface with no synthetic coating. It works on flames, coals, a stove and an oven.
  4. Care and portages Research suggests some iron may pass into your food, though more research is needed. With care, one piece can outlast you and become a family heirloom. On a canoe trip the weight counts, so decide with your portages in mind.

What you need. A cast iron skillet or Dutch oven A stiff brush, plastic scraper or chainmail scrubber A cooking oil Rags or paper towels Coal and Dutch oven heat control (see the fire and stove chapter)

Field check
  • I decide with my portages in mind.
  • I keep my cast iron pan well seasoned.
  • I cook on flames, coals, a stove or an oven.
  • I have a stiff brush, rags and cooking oil.

Safety. Cast iron stays hot long after the fire is out. Use a lid lifter and leather gloves to handle hot lids and pans.

What seasoning is

Seasoning gets better with use.

  1. Baked in oil Seasoning is not just oil on the pan. It is oil that has been baked into a hard, polymerized layer on the iron. That layer makes the pan non-stick and keeps rust out.
  2. Wash and dry To season a new, bare pan, wash it in warm, soapy water with a stiff brush. This is the one time soap is a must. Dry it right away and completely. A few minutes on a low burner gets all the water out.
  3. Rub on thin oil Rub on a very thin, even coat of oil on every surface, inside and out. Use a cooking oil or a cast iron seasoning oil. Wipe it until it looks nearly dry, so no oil can run or pool.
  4. Bake it upside down Place the pan upside down on the center rack, with foil on the rack below to catch drips. Bake at 450 to 500°F for 1 hour. Turn the oven off and let the pan cool inside.

Practice it. Learn it on the table: season a thrift-store skillet in the kitchen oven. Then in the dark: clean and re-oil the pan on a camp stove by headlamp. Then wet: restore a lightly rusted pan after it sat out in the rain.

Field check
  • I wash a new, bare pan with soap and a stiff brush.
  • I dry it right away and completely.
  • I rub on a very thin, even coat of oil.
  • I bake at 450 to 500°F for 1 hour.
  • I let the pan cool inside the oven.

Safety. Keep a rag or mitt handy when you take a pan out of the oven.

Cleaning and care

Clean the pan soon after cooking, while it is still warm.

  1. Brush and scraper Food comes off easily then. Use hot water and a stiff brush, a plastic scraper or a chainmail scrubber. One maker does not recommend steel wool or a metal scrubber for daily cleanup, but says it is fine for removing rust.
  2. Soap and dishwasher Old advice said never use soap. Today’s mild dish soap will not harm a well-seasoned pan, and one maker says soap is fine. Plain hot water is often enough. If you use soap, use a little and oil the pan afterward. Never put cast iron in a dishwasher.
  3. Stuck food For stuck food, add a little water, bring it to a simmer and scrape with a wooden spoon. You can also scrub with coarse salt.
Field check
  • I clean the pan soon after cooking, while it is warm.
  • I never put cast iron in a dishwasher.
  • I dry it completely until it is bone dry.
  • I wipe on a thin coat of cooking oil.
  • With no oven, I scrub off the rust, wash, dry on a low burner and oil the pan.

Safety. Cast iron stays hot long after the fire is out. Use a lid lifter and leather gloves to handle hot lids and pans.

  1. Dry it completely Dry it completely. This is the most important step. Rust is the enemy. Set the pan on a low burner or beside a gentle fire until it is bone dry.
  2. Oil and store While it is still slightly warm, wipe on a thin coat of cooking oil and wipe off the extra. Store it in a dry place. When pans are stacked, put a paper towel between them. Dry it, oil it, store it dry.
  3. Rusty pan A rusty pan is not ruined. Scrub the rust off with steel wool, then wash, dry and season again. With no oven, scrub off the rust, wash, dry on a low burner and oil the pan until you can season it.
Field check
  • I clean the pan soon after cooking, while it is warm.
  • I never put cast iron in a dishwasher.
  • I dry it completely until it is bone dry.
  • I wipe on a thin coat of cooking oil.
  • With no oven, I scrub off the rust, wash, dry on a low burner and oil the pan.

Safety. Cast iron stays hot long after the fire is out. Use a lid lifter and leather gloves to handle hot lids and pans.

Heat control

Preheat slowly and fully before the food goes in.

  1. Slow preheat Cast iron takes time to heat and then holds its heat very well.
  2. Direct flame A direct flame is the hottest. Use it for a quick sear or a fast boil, and watch that you do not burn the food.
  3. Coals and stove Glowing coals are the best source for most cast iron cooking: simmering, baking and frying with steady, even heat. A camp stove is the easiest to adjust, and it suits both delicate cooking and a hard sear.

You need: Frying over coals (For frying, put a hot bed of coals right under the skillet. There is no shortcut for experience.)

Read your coals. Watch the food and learn to read your coals.

Field check
  • I preheat slowly and fully before the food goes in.
  • I use glowing coals for steady, even heat.
  • I use a direct flame for a quick sear and watch that I do not burn the food.
  • I watch the food and read my coals.

Safety. A direct flame is the hottest. Use it for a quick sear or a fast boil, and watch that you do not burn the food.

What to cook

In all cases, check meat with a thermometer.

  1. Skillet A skillet fries, sears and bakes. Think scrambles, bacon, fried potatoes and pancakes for breakfast, and steak, fried chicken, stir-fry, cornbread and biscuits for dinner. Heat the skillet before the food goes in for a better sear.
  2. Dutch oven A Dutch oven stews, roasts and bakes. Stews and chili simmer for hours over coals. Whole chicken, pot roast and pork shoulder come out tender.
  3. Camp oven baking Cobblers, cakes and brownies turn it into a camp oven. Put more coals on top for baking and more below for stewing.
  4. Griddle A griddle gives flat, even heat for pancakes, eggs, bacon, hash browns, quesadillas, grilled sandwiches and smash burgers. Keep it well seasoned.

Keep cooking. The more you cook with fat, the better it gets.

Field check
  • I heat the skillet before the food goes in.
  • I check meat with a thermometer.
  • I put more coals on top for baking.
  • I put more coals below for stewing.

Safety. Use a lid lifter and leather gloves to handle hot lids and pans.
Chapter 7

The Art of Food Dehydration

  • Blanch and dry vegetables: Slice it to a uniform thickness, typically 1/8 to 1/4 inch, so every piece dries at the same rate.
  • Dry fruit without browning: Pretreat fruit so it does not brown.
  • Condition and store dried food: Cool the food to room temperature before storing it.
  • Safe home jerky: One safety rule applies to every home-dried meat: heat the meat to 160°F, or poultry to 165°F, before drying, then dry at a constant 130 to 140°F.
  • What you need: Dry fruit, vegetables and jerky at home, store them so they keep, and turn them into trail meals.
  • How drying works: Bacteria, yeasts and molds need water.
  • Prepare and dry: Start with clean, fresh produce and wash it well.
  • Store and keep: Label each container with the food and the day it was dried.
  • Bringing it back to life: Test your ratios and times before you leave.
Chapter 8

No-Cooler Cooking and Preservation

  • What lasts without ice: Stock a pantry that needs no ice, repack it for the trail, and keep caught fish safe on ice.
  • Pantry that carries a trip: Repackage everything.
  • Canning and curing: Canning heats food in sealed jars to destroy microbes.
  • Salt, sugar, vinegar and smoke: Fish needs special care.
  • Meals from the pantry: Think in ingredients that rehydrate well or cook simply, and layer the flavor with your spice kit.
  • Shelf-life screen: No-cooler cooking starts with knowing why some foods keep.
  • Pantry repack: Repackage everything.
  • Fish cold-hold check: Fish needs special care.
Chapter 9

One-Pot Wonder and Camp Culinary Creativity

  • Layered one-pot build: Think longest cook to shortest.
  • Foil packet dinner: Foil packet dinners need heavy-duty foil, or double-wrapped regular foil.
  • Spice kit assembly: A small, organized spice kit changes everything.
  • One-pot cooking: Cook a full meal in one pot, skillet or foil packet by adding ingredients in the right order, and lift the flavor with a small spice kit.
  • The order of ingredients: Each group goes in at its own time.
  • Skillet meals and foil packets: Move the skillet on and off the coals to manage the heat.
  • Soups, stews and pasta: A stove gives you precise heat for simmering.
  • Spice kit and flavor boosters: A small, organized spice kit changes everything.
Chapter 10

Camp Hygiene and Waste Management

  • Field handwash: Good hygiene is your first defense against illness.
  • Dishwashing and greywater: Scrape all food scraps into a trash bag first and pack them out.
  • Bear-safe food storage: Prevention is everything.
  • Cathole: A cathole dug the right way keeps water clean and stops the spread of disease.
  • Leave No Trace kitchen sweep: In short: pack out what you pack in, keep wash water and waste away from water, and leave the kitchen as you found it.
  • Burn and scald first aid: A scald is a burn from steam or hot liquid.
  • Cover burns and call 911: For a major burn, call 911 and make sure the person is no longer touching any burning or smoking material.
  • Control bleeding: The most important step for external bleeding is direct pressure, and it will likely stop most of it.
  • Choking response: Choking is when food or another object blocks the airway.
  • Severe allergic reaction: Anaphylaxis is a life-threatening allergic reaction.
  • Clean camp, healthy crew: Keep the crew healthy and the camp clean: wash hands and dishes the right way, pack out waste, store food from critters and handle human waste.
  • Food waste and critter control: Prevention is everything.
  • Human waste: This is not a kitchen topic, but it belongs to camp health.
  • Leave No Trace principles: Leave No Trace is a set of seven principles taught by the Leave No Trace Center for Outdoor Ethics.
  • First aid for the kitchen: Burns, cuts, choking, food poisoning and allergic reactions are the emergencies a kitchen can cause.
  • Burns and cuts: For a major burn, call 911 and make sure the person is no longer touching any burning or smoking material.
  • Choking, illness, anaphylaxis: Choking is when food or another object blocks the airway.
Chapter 11

Advanced Kitchen Tactics

  • What you need: Bake and finish a meal in camp, pack an emergency ration, fix a failing stove and add small touches that make a meal memorable, all within safety and the law.
  • Baking in camp: A fresh biscuit or a warm cobbler can lift a whole crew.
  • Foil packet dessert: Wrap the ingredients tightly in heavy-duty foil and set them in the coals.
  • Home-tested dessert mix: Test every recipe at home first so you know the cooking times.
  • Wild food, safely: Wild food adds variety and self-reliance, but it asks for caution and knowledge.
  • Handling a caught fish: A fish spoils faster than most food, so handling starts the moment it is landed.
  • Gut and gill a fish: Clean the fish promptly, because digestive enzymes spoil it fast.
  • Emergency rations: Delays and emergencies happen.
  • Extra-day ration pack: A ration is food you carry in case you get lost, delayed, hurt or run out of the main supply.
  • Fixing the kitchen: Things break.
  • Stove field repair: A clogged stove jet clears with the stove’s cleaning needle or a fine wire.
  • Gourmet touches: A little effort makes a meal a memory.
Questions people ask
What goes in a camp kitchen or chuck box?

A chuck box is a self-contained kitchen you carry as one unit. The core kit is a stove and fuel, nesting pots, a skillet, spoon, spatula, tongs, a sharp knife and cutting board, plates and mugs, a spice kit, cooking oil in a leak-proof container, biodegradable soap, trash bags, a small first-aid kit and a water jug. Pack heavy items on the bottom.

How do you cook while camping without a cooler?

Build the menu on food that keeps without ice: dry pasta, rice, oats and beans, dried fruit and vegetables, store-bought jerky and hard cheese in cool, dry conditions. Repack everything into sturdy waterproof bags. If you carry any fresh food, eat it first. A cooler is not forbidden, but the plan should not depend on it.

How do you purify or filter water while camping?

Treat every natural water source as contaminated, even a clear one. The book teaches four ways: boiling at a rolling boil for 1 minute, a filter or purifier that matches its label, chemical treatment, and UV light on clear water. Tea-colored blackwater should be pre-filtered and boiled. On the Okefenokee refuge, drinking or filtering swamp water is not recommended, so bring your water.

Should you cook over a campfire or a camp stove?

It is a choice you make for each trip and often each meal. The stove gives speed and control. The fire gives warmth and slow simmers on glowing coals. Use a stove where fires are not allowed, in rain, or on a quick solo trip. Never light a stove inside a tent, because the carbon monoxide cannot be seen or smelled.

How do you cook in a Dutch oven when camping?

Set the oven on a bed of coals for simmering, stewing and frying. For baking, put coals on the lid as well, about 3 on top for every 1 underneath by one maker's guide. Every 10 to 15 minutes turn the oven a quarter turn and the lid a quarter turn the other way. Use a lid lifter and gloves, and use coals only where fires are allowed.

How do you season and clean cast iron at camp?

Clean the pan soon after cooking with hot water and a stiff brush, plastic scraper or chainmail scrubber. A little mild soap will not harm a seasoned pan. Then dry it completely on a low burner or beside a gentle fire, wipe on a thin coat of oil and store it dry. A rusty pan is not ruined; scrub off the rust and season it again.

What is a good food plan for a canoe camping trip?

Plan energy first, since an active adult may need roughly 2,000 to 3,000 calories a day and hard days can run higher. Build hearty breakfasts, no-stove lunches, one hot dinner and snacks, and vary the menu. Ask every person about allergies early. Choose heavier food like cast iron only when portages are short; long portages call for light, dried food.

How do you keep camp food safe?

Wash your hands before and after handling food, keep raw meat in its own bag below other food, and check cooking temperatures with a thermometer. Perishable food should not sit between 40°F and 140°F for more than 2 hours, or 1 hour when the air is 90°F or hotter. Poultry needs 165°F, ground meat 160°F. When you doubt a food, throw it out.

How do you wash dishes and handle greywater in camp?

Scrape food scraps into a trash bag and pack them out. Wash at least 200 feet from any lake, stream or water source with a small amount of unscented biodegradable soap. Strain the dishwater through a fine mesh strainer, pack out what it catches, then scatter the greywater widely away from camp, trails and water. Never dump food, bait or fish parts in the water.

How do you keep animals out of your camp food?

Store food, toiletries and trash in a hard-sided container with a secure lid, and never keep food or scented items in tents. Clean cooking utensils and eating areas right after meals and never leave food or trash unattended, especially at night. Never put fish or food scraps in the water. Follow the food-storage rule posted for the area you are in.